Automatically release a new version of your Plugin or Theme from GitHub or Bitbucket. Push your project tags to GitHub or Bitbucket to create a new release in Appsero and the user will get an automatic update from Appsero.
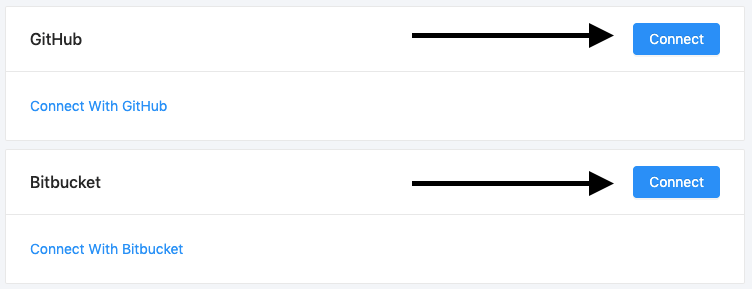
Connect With GitHub or Bitbucket
To connect your profile with GitHub or Bitbucket go to Integrations page under top right navigation menu.

Then click on Connect button of your project Git repository manager.

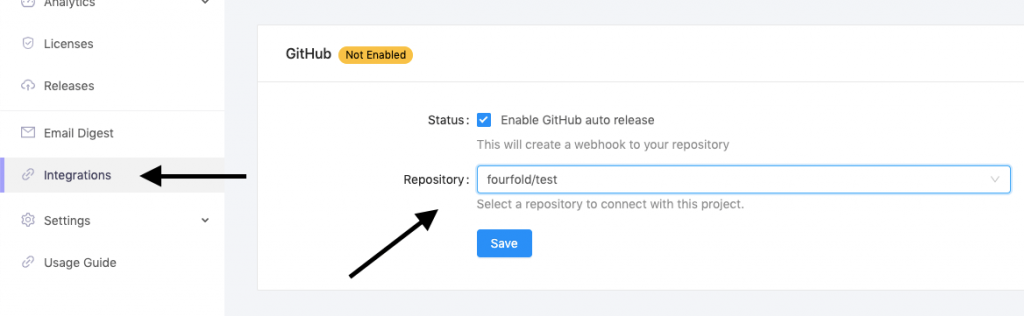
Now go to your project Integrations page and select the repository for your Plugin or Theme.

Install dependencies
To install dependencies your repository must contain both composer.json and composer.lock files. If these two files are present then Appsero will automatically run composer install for you.
Remove Files or Folder From Production
Add a JSON file in the root directory called appsero.json and add an array with exclude key.
{
    "exclude": [
        "README.md",
        "appsero.json",
        "composer.json",
        "composer.lock",
        ".gitignore",
        "assets/src"
    ]
}
Custom Directory Name
By default we use project slug for your Plugin or Theme directory name, But you have option to change it. Add directory name with key name in appsero.json file.
{
    "name": "push-to-deploy"
}
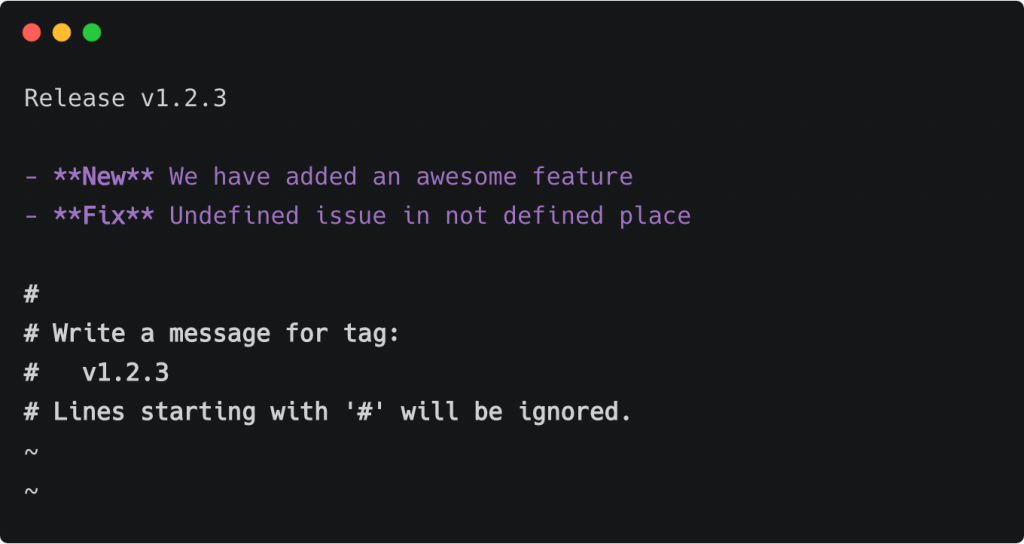
Changelog
Add changelog in tag message. Don’t add -m flag in your tag command. Please look at the example below.
Deploy to WordPress.org from Git Account
You can deploy directly from your Git account to WordPress.org by running the following command.
$ git tag -a "v1.2.3"
A success or failed email will send to your email address after processing the project files.

